Table of Contents (13 sections)
Drone photography has transformed the way we capture landscapes, events, and personal memories. With the latest advancements in drone technology, it's now easier than ever to take breathtaking aerial shots. However, capturing the perfect picture requires more than just flying a drone; it demands understanding techniques, composition, and even environmental factors. This article offers practical drone photography tips to help you elevate your aerial photography skills.
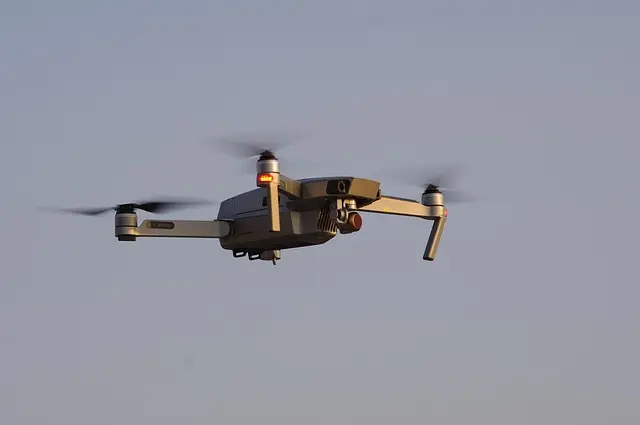
1. Know Your Drone
Understanding the capabilities and limitations of your drone is crucial. Different drones come equipped with various camera specifications, flight times, and stabilization features. For instance, a high-end model might have a 4K camera that captures striking details, while a budget drone may limit you to lower resolutions or slower speeds. According to a study by Drones Magazine, 72% of drone users reported that knowing their equipment significantly improved their photography outcomes. Ensure that you familiarize yourself with the user manual, practice different maneuvers, and test settings before heading out on a photography mission.
2. Master the Basics of Composition
Just like traditional photography, composition is key in drone photography. Utilize the rule of thirds by dividing your frame into nine equal parts, placing points of interest at the intersections. Additionally, be mindful of leading lines, symmetry, and framing to guide the viewer's eye through your image. For example, capturing a winding road or river can create a natural line leading toward the horizon. Remember, a well-composed shot can elevate even a mundane scene into a captivating photograph.
3. Use the Right Settings
The settings you choose can drastically influence the quality of your photos. Adjust the ISO, shutter speed, and aperture based on the lighting conditions. In bright daylight, keep your ISO low (100-200) and increase the shutter speed to avoid overexposure. Conversely, during sunrise or sunset, you can experiment with higher ISO settings while lowering the shutter speed to enhance light capture. Each adjustment helps achieve better clarity and detail in your shots.
4. Pay Attention to Weather Conditions
Weather plays a vital role in drone photography. Overcast days can provide diffused light, perfect for eliminating harsh shadows. Conversely, sunny days with clear skies can yield striking images but may require careful exposure control. Windy conditions can also affect stability and flight time, so check weather forecasts before flying. According to Meteorological Studies, optimal photography conditions often occur shortly after a rainstorm, with enhanced color saturation and dramatic cloud formations.
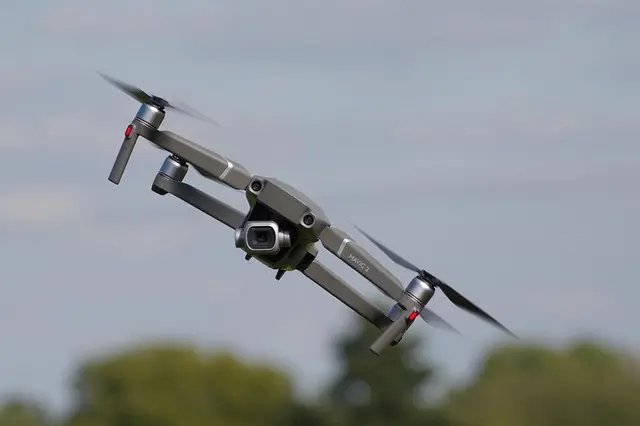
5. Explore Different Perspectives
One of the advantages of drone photography is the variety of angles and heights available to you. Don’t hesitate to explore different altitudes, orientations, and angles. Try shooting both directly above your subject and from low angles to capture unique perspectives. For instance, aerial shots of a crowded beach from above can offer a stark contrast to a close-up of surfers riding waves. Playing with composition provides viewers with fresh viewpoints and engages them more effectively.
6. Utilize Smart Modes
Many drones today come equipped with intelligent flight modes, such as Follow Me, Waypoints, and Circle. Utilizing these modes can help you capture dynamic shots with minimal manual intervention. For example, the Follow Me mode allows the drone to autonomously track a subject, providing smooth motion shots without requiring your input. Understanding how to leverage these smart features can significantly improve your shot quality and ease the flying experience.
7. Edit Your Photos
Post-processing is an essential part of the photography workflow. Use editing software like Adobe Lightroom or Photoshop to enhance your images—adjust contrast, saturation, and sharpness to create a polished final product. An editing tool can bring out hidden colors and light details, transforming an average photo into a stunning masterpiece. Professional photographers often report that quality editing can make all the difference between a good shot and a memorable one.
8. Respect Privacy and Safety Regulations
Before flying your drone, it's essential to be aware of and comply with local regulations and privacy laws. Drones must be flown within visual line-of-sight, and you should avoid capturing images of people without their consent. In the U.S., for example, the FAA has specific rules for commercial and recreational drone usage, including weight restrictions and no-fly zones. Adhering to these regulations not only keeps everyone safe but also ensures that you avoid potential fines.
📺 Resource Vidéo
📺 For further learning: Explore advanced techniques in drone photography, which dives deeper into composition, camera settings, and best practices. Search on YouTube: "advanced drone photography techniques 2026".
Conclusion
Capturing stunning aerial shots requires knowledge of your drone, composition, settings, and environmental factors. By following these drone photography tips, you can significantly improve the quality of your photos. If you take the time to practice and experiment with different techniques, you will surely enhance your aerial photography skills.
Checklist before flying
- [ ] Check drone battery life
- [ ] Verify weather conditions
- [ ] Familiarize with drone controls
- [ ] Plan your shooting angles
- [ ] Respect local laws and regulations
- [ ] Adjust camera settings for conditions
Glossary
| Term | Definition |
|---|---|
| ISO | A measure of a camera’s sensitivity to light. Higher ISO allows better performance in low-light conditions but can introduce noise. |
| Shutter Speed | The length of time a camera's sensor is exposed to light to capture an image. Faster speeds freeze motion, while slower speeds can create a blur effect. |
| Composition | The arrangement of visual elements within a photograph to create a balanced and compelling image. |