Table of Contents (11 sections)
Capturing aerial shots with drones has become a popular hobby and professional pursuit in recent years. Drones provide unique perspectives that are impossible to achieve with traditional photography. In this article, we will guide you through essential tips and techniques to capture great aerial shots with drones. Whether you're a beginner or looking to refine your skills, these steps will help you elevate your aerial photography.
Understanding Drone Photography
Aerial photography refers to taking pictures from an elevated position. Drones have revolutionized this practice by making it accessible to amateurs and professionals alike. These small flying devices equipped with high-definition cameras allow you to capture stunning landscapes, architectural marvels, and event photography from the sky. As per a report from Statista, the drone market is expected to reach $43 billion by 2024, indicating the growing interest in drone technology.
Understanding the importance of aerial shots is crucial. Aerial photography not only provides a unique angle but also adds depth and a sense of scale to your photos. It can reveal patterns and textures in a way that ground-level photography cannot. This makes it a valuable tool for real estate photography, event coverage, and even nature documentation. Internalizing these concepts prepares you to implement effective strategies when you're ready to fly your drone.
Step 1: Choose the Right Drone
Selecting the correct drone is the first critical step to capturing great aerial shots. Different drones have varying capabilities, features, and price points. Here are some factors to consider:
- Camera Quality: Look for drones with a high-resolution camera (12 MP or more) for crisp images.
- Flight Time: Longer battery life (20+ minutes) allows for more time to get the perfect shot.
- Stability Features: Drones with GPS-assisted hovering can help maintain stability, which is vital for clear shots.
- Ease of Use: Some drones are designed with features that assist beginners, such as automated takes-off and landing.
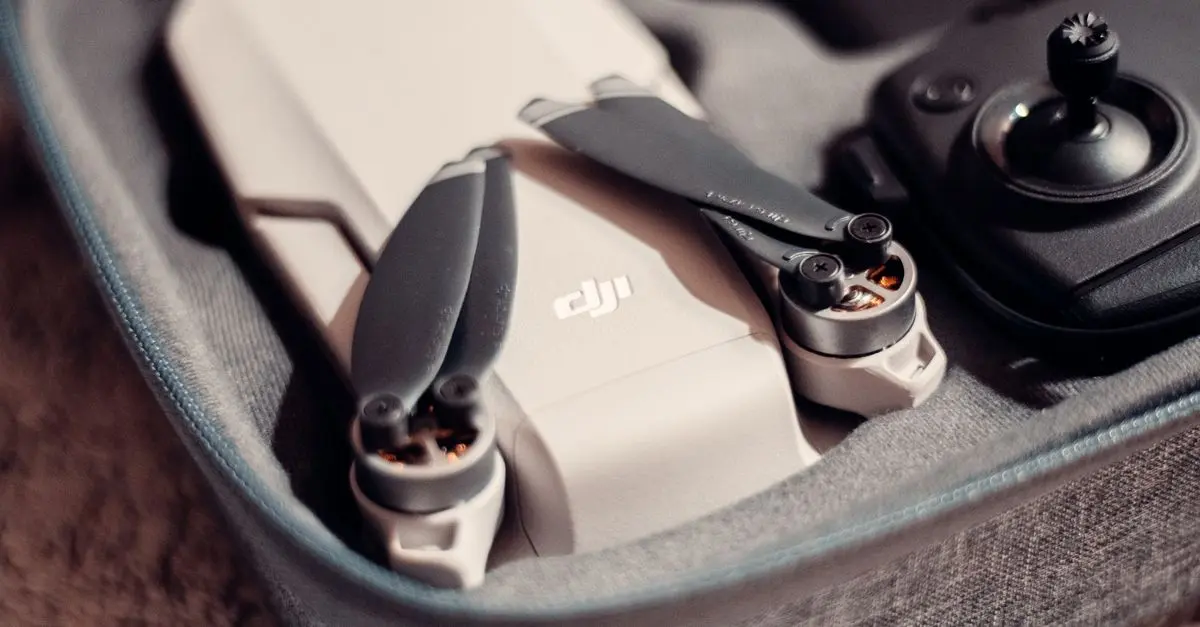
Popular models from well-known brands such as DJI and Parrot offer various features catering to different skill levels. Before making a purchase, consider reading consumer reviews or seeking advice from seasoned pilots to find a drone that fits your needs.
Step 2: Master Your Drone Controls
Once you've selected your drone, the next step is to become familiar with its controls. Each drone has a unique interface, and mastering it is crucial for capturing great shots. Here are some tips to get started:
- Practice in an Open Space: Find a wide, unobstructed area to practice flying. This reduces the risk of collisions and allows you to become comfortable with the drone's movements.
- Understand the Controls: Familiarize yourself with throttle, yaw, pitch, and roll. Learning how these movements affect the drone will empower you to achieve desired angles.
- Use a Simulator: Many manufacturers offer flight simulators that allow you to practice without the risk of crashing. This is a useful tool for beginners.
- Emergency Procedures: Always know how to regain control or land the drone in case of malfunctions. Knowing these can save your equipment and ensure safety.
As reported by UFC-Que Choisir, users find that spending time familiarizing oneself with drone controls significantly reduces flight errors and enhances skill levels.
Step 3: Study Composition Techniques
Taking eye-catching aerial shots also relies on understanding composition techniques. Photographers often use the "rule of thirds" to create dynamic and balanced images. Here are other principles to consider:
- Leading Lines: Use natural elements such as paths or rivers to guide the viewer's eye through the image.
- Framing: Look for ways to frame your subject with surrounding natural elements.
- Negative Space: Utilize empty areas within your frame to highlight your subject further.
- Viewpoint Variation: Experiment with various heights and angles to discover unique compositions.
It's advisable to study works by professionals in aerial photography for inspiration. Analyzing their compositions can give insights into effective framing and subject positioning, enhancing your own photographic style.
Step 4: Utilize Natural Light
Lighting can profoundly affect the quality of your aerial shots. Knowing how to use light effectively can result in breathtaking images. Here are essential guidelines for optimizing your lighting:
- Golden Hour: Early mornings and late afternoons, known as the golden hour, provide softer light, creating warm tones and enhancing textures in your images.
- Avoid Harsh Midday Sunlight: Bright, overhead sunlight can result in stark shadows and overexposed highlights. If you must shoot during this time, try to find areas of shade or use filters to manage light intensity.
- Overcast Days: Cloudy days can be advantageous as they diffuse light, reducing harsh shadows and providing more even lighting.
According to studies by Les Numériques, using proper lighting techniques can increase the visual appeal of photographs significantly and draw viewers into the image.
Step 5: Experiment with Perspectives
Drones offer the versatility to capture images from various altitudes and perspectives. Here are some creative perspectives to consider:
- Bird's Eye View: A top-down perspective can provide a novel look at landscapes or structures and create engaging patterns.
- Low Angle Shots: Flying close to the ground can bring in more foreground detail and create a sense of intimacy in the shot.
- Panning Shots: By capturing motion while the drone moves sideways, you can achieve dynamic images that convey a sense of action.
- Altitude Variation: Don't be afraid to change altitude; lower shots can emphasize the foreground, while higher shots can showcase expansive backgrounds.
Always keep safety in mind while flying at different heights and distances. Being aware of your surroundings and understanding local regulations will ensure compliance while capturing stunning aerial shots.
📺 Resource Video
> 📺 For further insight: Explore expert aerial photography techniques and tips by searching on YouTube: aerial photography tutorials.
Checklist Before You Fly
- [ ] Select the suitable drone model for your needs
- [ ] Familiarize yourself with the drone’s controls and features
- [ ] Verify weather conditions for optimal flying
- [ ] Plan out your shot list and angles ahead of time
- [ ] Maintain awareness of local flying regulations
Glossary
| Term | Definition |
|---|
| Drone | A flying device controlled remotely, equipped with a camera or sensors.
| Aerial Photography | Photography taken from an elevated vantage point, typically from an aircraft or drone.
| Composition | The arrangement of visual elements within a photograph to create a cohesive image.
🧠 Quick Quiz: What is the best time for aerial photography?
- A) Noon
- B) Early Morning
- C) Late Evening
Answer: B — Early Morning is ideal due to soft lighting.